After a long, hot day at work, I come home feeling worn out. All I want is something cold and refreshing to help me feel better.
The Ninja Slushi Milkshake Recipe is just what I need at the moment—it makes me feel better with just one sip. Cold, delicious, and incredibly refreshing, this milkshake doesn’t just soothe the body, it lifts the spirit too. It wakes up both the body and mind, giving me a fresh burst of energy and inspiration to face the busy day ahead. You can also try Raising Cane’s Sweet Iced Tea for your relaxation on a summer day.
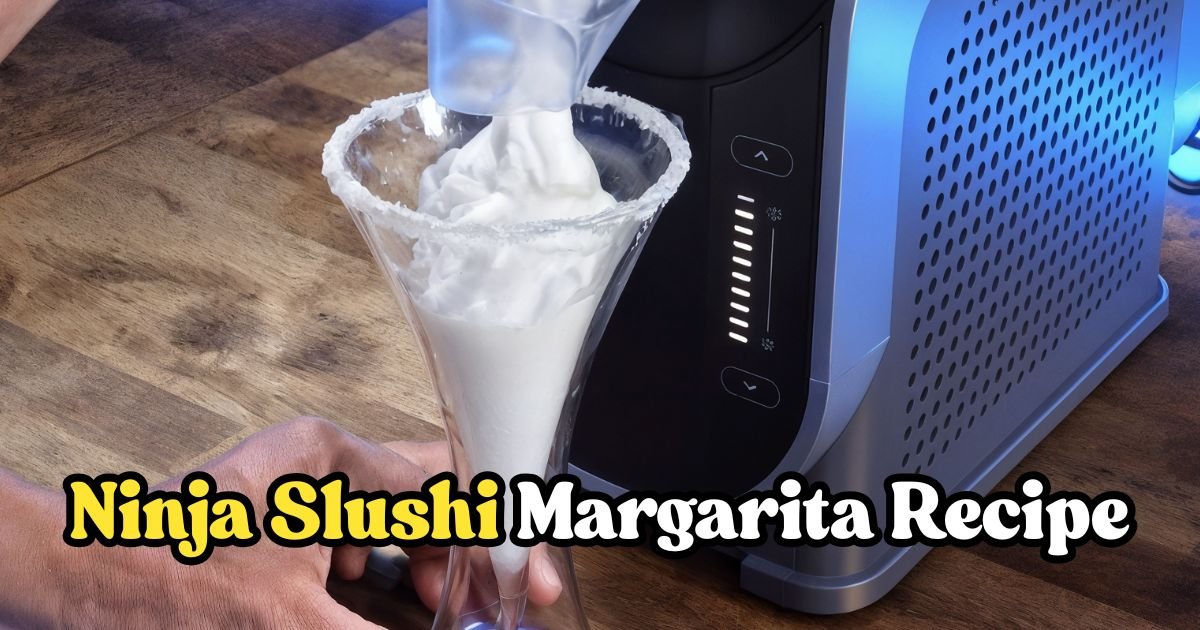
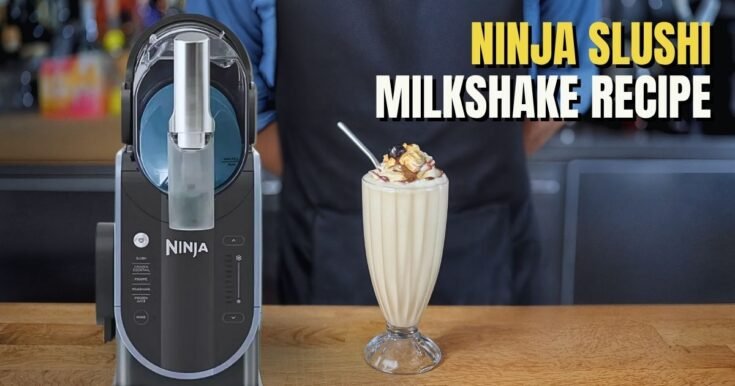
The Ninja Slushi Milkshake is a creamy, diner-style milkshake made using the Ninja Slushi machine, which chills and aerates the mixture to create a thick, frosty texture.
This recipe stands out because it blends classic milkshake ingredients—whole milk, heavy cream, vanilla, sugar, cocoa powder, chocolate syrup, and whipped cream—into a perfectly smooth, icy treat with minimal effort, thanks to the specialized machine.
What is Ninja Slushi Milkshake Recipe?
The Ninja Slushi Milkshake Recipe is a homemade milkshake that uses whole milk, heavy cream, vanilla, sugar, cocoa powder, and chocolate syrup, all blended and chilled in the Ninja Slushi machine.
The machine’s unique freezing and mixing process gives the milkshake a thick, smooth, and icy texture that’s hard to get with a regular blender. You don’t need ice cream for this recipe, making it more convenient and budget-friendly. Just whisk the ingredients, pour them into the machine, and let it do the work. Top with whipped cream for a classic finish. This milkshake is perfect for cooling down and giving yourself a sweet, chocolatey boost after a long day.
What Is in the Ninja Slushi Milkshake Recipe?
- 2 cups whole milk: Adds a creamy, rich base to the milkshake.
- 1 cup heavy cream: Makes the texture extra thick and smooth.
- 1 teaspoon vanilla: Brings a warm, sweet flavor to balance the chocolate.
- 2 tablespoons sugar: Sweetens the milkshake to your liking.
- 2 tablespoons cocoa powder: Gives a rich chocolatey taste.
- Chocolate syrup: Adds a burst of sweetness and extra chocolate flavor.
- Whipped cream: Tops off the milkshake for a classic, indulgent finish.
Recipe Substitutions for the Milkshake
- Milk Options: You can use 2% milk instead of whole milk, but the milkshake won’t be as creamy. For dairy-free options, try oat milk or coconut milk.
- Cream Alternatives: Half-and-half works instead of heavy cream, but the texture will be lighter. Coconut cream is a good dairy-free choice.
- Sweetener Swaps: Use honey, maple syrup, or stevia instead of sugar. Start with less and add more to taste.
- Flavor Changes: Skip the cocoa powder and chocolate syrup for vanilla milkshakes. Add strawberry syrup for strawberry flavor.
- Topping Options: Use whipped coconut cream, crushed cookies, or fresh berries instead of regular whipped cream.
Kitchen Appliance
- Ninja Slushi machine: The star of the show, it freezes and churns the mixture into a perfect milkshake.
- Measuring cup: For accurately measuring milk and cream.
- Measuring spoons: To measure vanilla, sugar, and cocoa powder.
- Whisk: To mix all ingredients smoothly before pouring into the machine.
- Glass: For serving your delicious milkshake.
How To Make the Ninja Slushi Milkshake Recipe
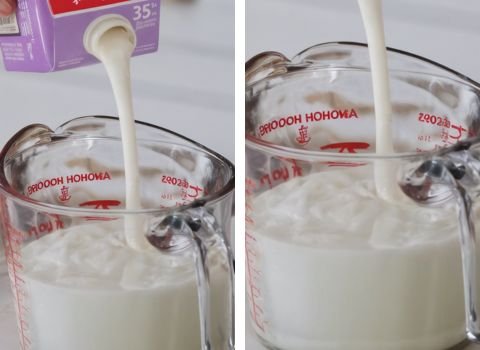
Step 1 | Measure the milk
Pour 2 cups of whole milk into a measuring cup. I like to use cold milk straight from the fridge for the best results.
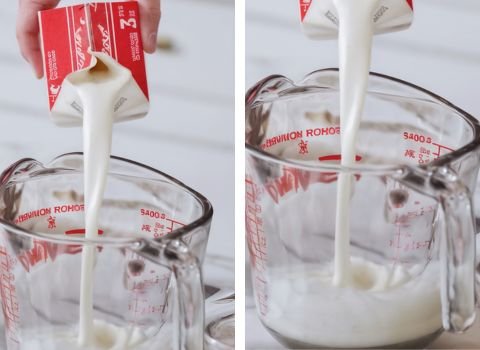
Step 2 | Add the cream
Pour 1 cup of heavy cream into the same measuring cup with the milk.
Step 3 | Add vanilla
Stir in 1 teaspoon of vanilla to give the milkshake a warm, sweet flavor.
Step 4 | Sweeten it up
Add 2 tablespoons of sugar to the mixture. You can add a bit more if you like it sweeter.
Step 5 | Mix in cocoa
Add 2 tablespoons of cocoa powder for that rich chocolate taste.
Step 6 | Drizzle in chocolate syrup
Add a generous squeeze of chocolate syrup. I usually do about 2 tablespoons, but you can adjust to your taste.
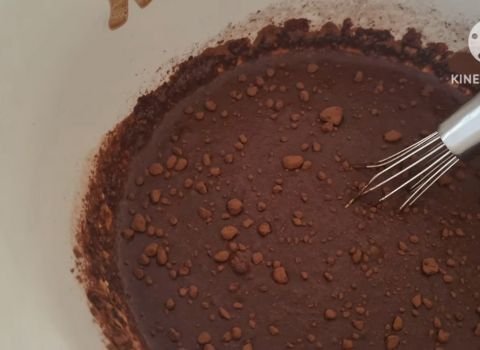
Step 7 | Whisk it together
Use a whisk to blend everything until it’s smooth and fully combined. This step is key to avoid clumps!
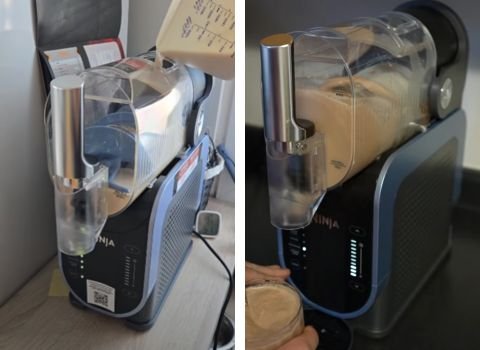
Step 8 | Pour into the Ninja Slushi
Carefully pour the mixture into the Ninja Slushi machine’s container.
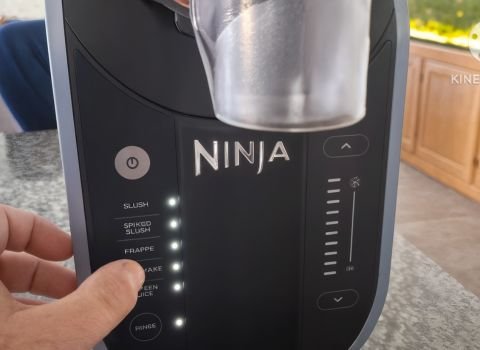
Step 9 | Freeze and churn
Turn on the Ninja Slushi and select the Milkshake button, then let it run for 20 minutes. The machine will freeze and churn the mixture into a thick milkshake.
Step 10 | Dispense the milkshake
Once it’s done, dispense the milkshake into a tall glass. I love watching it swirl out!
Step 11 | Top with whipped cream
Add a dollop of whipped cream on top for that classic milkshake look. You can even drizzle more chocolate syrup if you’re feeling fancy.
Recipe Notes
- Chill your glass: Pop your glass in the freezer for 5 minutes before serving to keep the milkshake cold longer.
- Adjust sweetness: Taste the mixture before pouring it into the machine. Add more sugar or syrup if needed.
- Clean the machine right away: Rinse the Ninja Slushi container after dispensing to make cleanup easier.
- Don’t overfill: Stick to the machine’s fill line to avoid spills or uneven freezing.
- Use cold ingredients: Cold milk and cream help the machine freeze the mixture faster.
- Check the preset: Don’t turn off the Ninja Slushi until all the milkshake is dispensed for the best texture.
Serving Suggestions
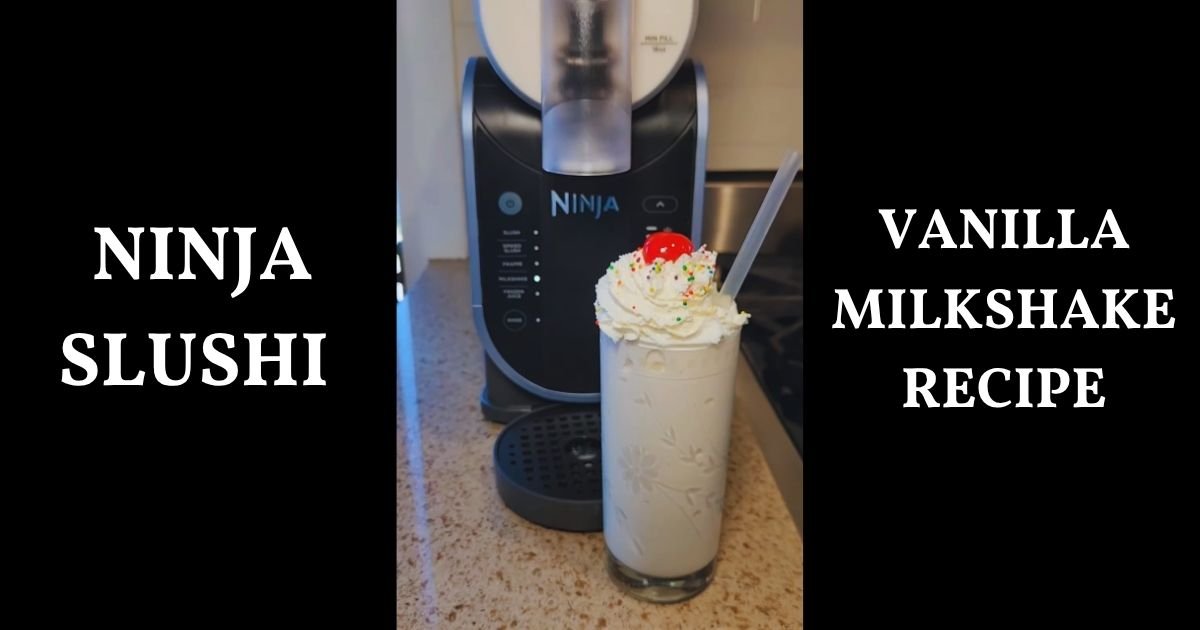
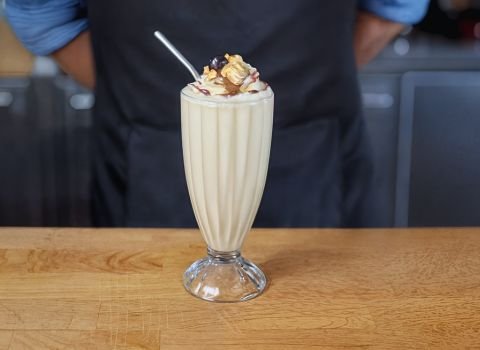
For a classic diner vibe, pour the milkshake into tall glasses and pop in red and white striped straws. Top it off with a swirl of whipped cream and a cherry to give it that nostalgic touch.
If you’re going for something a little more fancy, try using chilled glasses and drizzle chocolate syrup along the inside before pouring in the shake. A dollop of whipped cream and a light sprinkle of cocoa powder will make it look extra special.
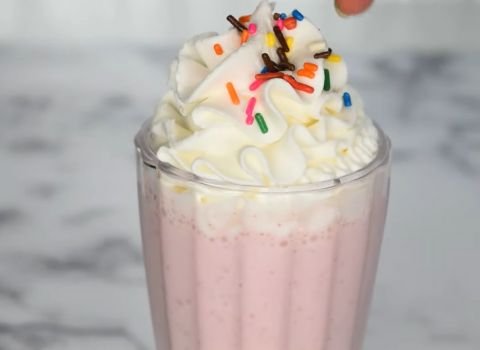
For kids, serve it in smaller cups with colorful straws and some cheerful sprinkles on top.
If you want to make it a grown-up treat, pour it into wine glasses and garnish with whipped cream and a small cookie on the side—it’s a fun way to indulge.
On hot days, enjoy the milkshake right after making it while it’s ice-cold—perfect for lounging by the pool or during a backyard BBQ. And if you’re in the mood for dessert, pair your milkshake with warm brownies or gooey chocolate chip cookies.
Storage Tips
After a long day of work, it’s very hard to make anything—whether it’s an easy recipe or something more complex. That’s why making it ahead of time is such a good option.
A little prep now means you’ll have a cold, creamy treat ready to go when you need it most. Personally, I like to make just enough to enjoy fresh, but having a little saved in the fridge makes for a quick and easy pick-me-up the next day!
For short-term storage, just pour the extra milkshake into an airtight container and keep it in the refrigerator for up to 24 hours.
Before serving, give it a quick stir since it might separate a bit. If you want to keep it longer, you can freeze it in a freezer-safe container for up to a month. When you’re ready to enjoy it, let it thaw in the fridge for a few hours and then whisk it to bring back that creamy texture.
Just remember, once it’s thawed, don’t refreeze it—doing so can mess with the texture. Also, avoid storing any mixture directly in the Ninja Slushi machine. Always pour it into a separate container.
Ninja Slushi Milkshake Recipe FAQs
1. Can I make this milkshake without a Ninja Slushi machine?
Yes, you can make it with a blender, but the texture won’t be as frosty. Blend the ingredients with 1 cup of ice until smooth. It’ll still taste great, but the Ninja Slushi gives that perfect diner-style thickness. If you use a blender, serve immediately to keep it cold and creamy.
2. Can I add fruit to the Ninja Slushi Milkshake Recipe?
Yes! Add ½ cup of mashed fruit like strawberries, bananas, or raspberries before pouring into the machine. Blend the fruit with the other ingredients for a smooth mix. It adds a fresh, fruity flavor while keeping the creamy texture. Try strawberries for a classic twist!
3. Why is my milkshake too thin?
A thin milkshake could be due to warm ingredients or overfilling the machine. Use cold milk and cream, and don’t go past the Ninja Slushi’s fill line. If it’s still thin, add more cream next time or let the machine run a bit longer for a thicker texture.
4. How do I clean the Ninja Slushi machine after making the milkshake?
Rinse the container with warm water right after dispensing the milkshake. Use a mild dish soap and a soft sponge to clean the parts. Don’t let the mixture sit in the machine, as it can stick. Dry thoroughly before storing to keep it in good condition.
5. Can I double the recipe in the Ninja Slushi machine?
Check your machine’s capacity, as most Ninja Slushi models have a fill line. Doubling may overfill it, causing uneven freezing. If you need more, make the recipe in two batches. It only takes 20 minutes per batch, so it’s still quick and easy.
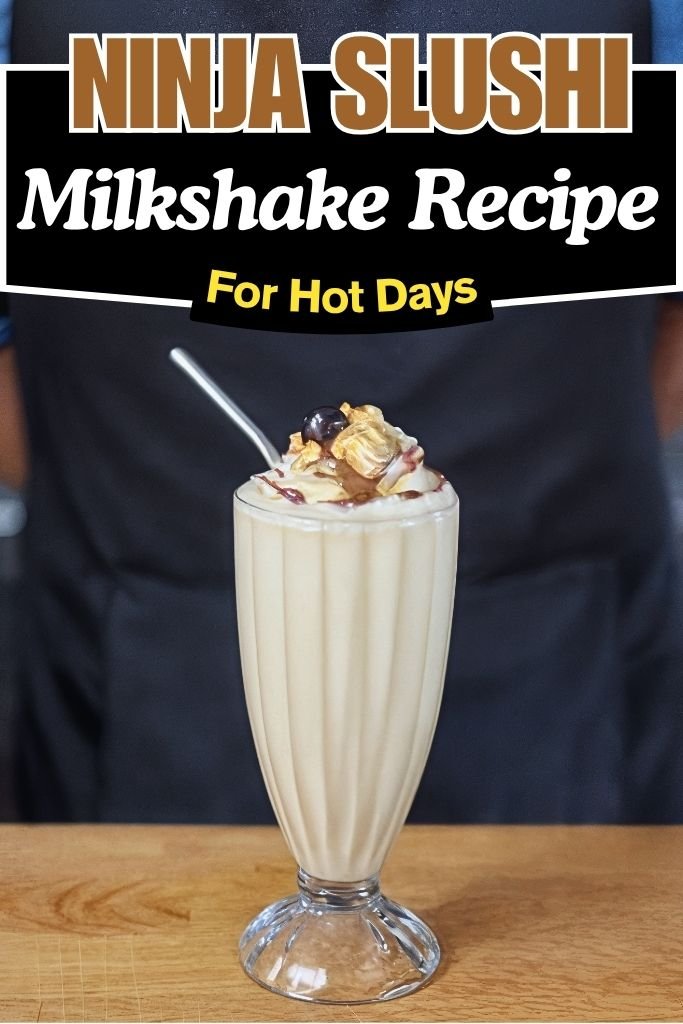
Ninja Slushi Milkshake Recipe
Beat the heat in 25 minutes with this rich and creamy Ninja Slushi Milkshake Recipe—your perfect summer drink!
Ingredients
- 2 cups whole milk
- 1 cup heavy cream
- 1 teaspoon vanilla extract
- 2 tablespoons granulated sugar
- 2 tablespoons cocoa powder
- 2 tablespoons chocolate syrup (plus more for topping, optional)
- Whipped cream, for topping
Instructions
Step 1 | Measure the milk
Pour 2 cups of whole milk into a measuring cup. I like to use cold milk straight from the fridge for the best results.
Step 2 | Add the cream
Pour 1 cup of heavy cream into the same measuring cup with the milk.
Step 3 | Add vanilla
Stir in 1 teaspoon of vanilla to give the milkshake a warm, sweet flavor.
Step 4 | Sweeten it up
Add 2 tablespoons of sugar to the mixture. You can add a bit more if you like it sweeter.
Step 5 | Mix in cocoa
Add 2 tablespoons of cocoa powder for that rich chocolate taste.
Step 6 | Drizzle in chocolate syrup
Add a generous squeeze of chocolate syrup. I usually do about 2 tablespoons, but you can adjust to your taste.
Step 7 | Whisk it together
Use a whisk to blend everything until it’s smooth and fully combined. This step is key to avoid clumps!
Step 8 | Pour into the Ninja Slushi
Carefully pour the mixture into the Ninja Slushi machine’s container.
Step 9 | Freeze and churn
Turn on the Ninja Slushi and select the Milkshake button, then let it run for 20 minutes. The machine will freeze and churn the mixture into a thick milkshake.
Step 10 | Dispense the milkshake
Once it’s done, dispense the milkshake into a tall glass. I love watching it swirl out!
Step 11 | Top with whipped cream
Add a dollop of whipped cream on top for that classic milkshake look. You can even drizzle more chocolate syrup if you’re feeling fancy.
Nutrition Information:
Serving Size:
(Per Serving – 1 large milkshake)Amount Per Serving: Calories: 520Total Fat: 33gSaturated Fat: 20gCholesterol: 110mgSodium: 110mgCarbohydrates: 47gFiber: 2gSugar: 38gProtein: 8g
Final Words
The Ninja Slushi Milkshake Recipe has become my go-to treat for those hot summer days when I need something cold and refreshing. This recipe brings back memories of classic diner milkshakes but with the convenience of making them at home.
With just a few simple ingredients and the Ninja Slushi machine, you can enjoy a diner-style milkshake right at home. Share your cooking experience with us in the comments below, and don’t forget to follow us on Pinterest for more delicious recipes like this one!